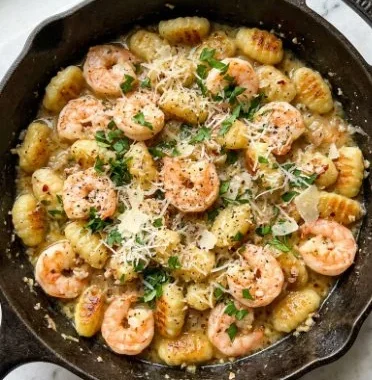
There is something special about the smell of a sizzling pan filled with chicken and vibrant vegetables. It brings back memories of gathering with friends to share meals and laughter. One dish that always stands out is Chicken Pad Thai. I remember the first time I tried making it at home; I loved how the flavors came together, creating a dish that felt both comforting and exciting. This recipe matters to me because it’s an easy way to bring those flavors to our kitchen, and it’s quick enough for a busy weeknight. The best part is that you can customize it with your favorite ingredients, making it truly your own. With this Chicken Pad Thai recipe, you’ll bring a taste of Thailand right to your table.
why make this recipe
Easy Chicken Pad Thai is a fantastic choice for anyone who wants a quick and delicious meal. It’s packed with protein, colorful vegetables, and great flavors, making it not just satisfying but also healthy. Plus, this recipe uses simple ingredients you can find in most grocery stores. Whether you’re feeding a family or enjoying a meal by yourself, this dish is easy to prepare and will leave you feeling fulfilled. Perfect for weeknight dinners or even as a dish to impress friends!
how to make Easy Chicken Pad Thai
Ingredients:
- 8 oz rice noodles
- 1 lb chicken breast, sliced
- 2 tablespoons vegetable oil
- 2 eggs, beaten
- 2 cups mixed vegetables (carrots, bell peppers, bean sprouts)
- 3 tablespoons soy sauce
- 2 tablespoons fish sauce
- 1 tablespoon sugar
- 1 tablespoon lime juice
- Crushed peanuts and lime wedges for garnishing
Directions:
- Soak rice noodles in hot water for 10-15 minutes or until soft, then drain.
- In a large pan or wok, heat vegetable oil over medium heat.
- Add sliced chicken and cook until browned and cooked through, about 5-7 minutes.
- Push the chicken to one side of the pan and scramble the beaten eggs on the other side until cooked.
- Add the mixed vegetables and stir-fry for 2-3 minutes.
- Add the drained noodles to the pan and pour in soy sauce, fish sauce, sugar, and lime juice. Toss everything together to combine and cook for an additional 2 minutes.
- Serve hot, garnished with crushed peanuts and lime wedges.
how to serve Easy Chicken Pad Thai
Serve your Chicken Pad Thai hot, directly from the pan. Garnish with crushed peanuts for a nice crunch and lime wedges to squeeze over the top. This dish is perfect on its own, or you can enjoy it with a side of spring rolls or a light salad.
how to store Easy Chicken Pad Thai
If you have leftovers, store them in an airtight container in the fridge. They should stay fresh for about 3 days. When ready to eat, you can simply reheat it in the microwave or on the stove. You may want to add a splash of water or more sauce to keep it moist while reheating.
tips to make Easy Chicken Pad Thai
- Make sure to soak the rice noodles just until soft; over-soaking can make them mushy.
- Feel free to use any mixed vegetables you like or have on hand; bell peppers, carrots, and even snap peas work well.
- For extra flavor, consider adding a sprinkle of chili flakes if you enjoy a bit of heat.
variation
You can easily make this recipe vegetarian by swapping the chicken for tofu or extra vegetables. You can also adjust the sauces to your taste; for instance, using more soy sauce for a saltier flavor or omitting the fish sauce for a vegan option.
FAQs
1. Can I use other types of noodles?
Yes! If you can’t find rice noodles, you can use other Asian noodles like soba or even spaghetti for a different twist.
2. How spicy is this dish?
This recipe isn’t spicy on its own. You can add crushed red pepper flakes or a dash of sriracha to increase the heat to your liking.
3. What can I substitute for fish sauce?
If you prefer not to use fish sauce, you can use soy sauce as a substitute or opt for a vegan fish sauce alternative available in stores.